Assembling My Cosmetic Drawer
It was late at night while I was busy putting this together as my new cosmetic drawer because my old small stationary drawer is pretty much full. Thanks to the special someone sponsored me with this fantastically practical gift.
Note that I have never actually bought anything that requires me to DIY myself from Ikea. So this would be my first. :)


Finally the rollers are done! I was delighted! One of the main reason I wanted this particular drawer was because of it's mobility to be able to roll around the room.


I love it!
Note that I have never actually bought anything that requires me to DIY myself from Ikea. So this would be my first. :)

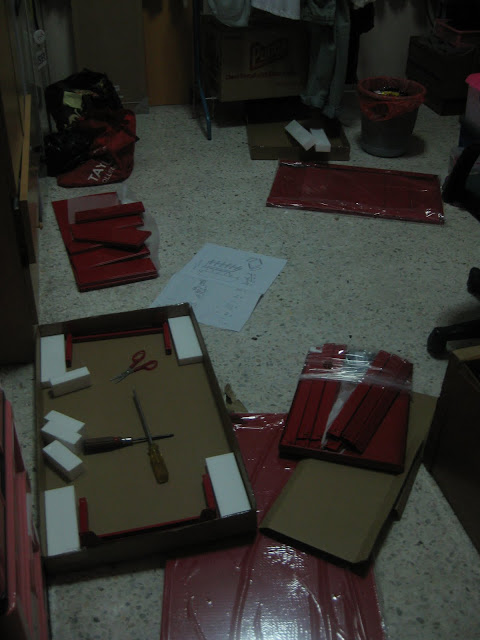
Unboxing

Following instruction putting up the outer layer

I got so tired screwing the bottom part of the drawer that bonds the drawer as well as to put the rollers on.
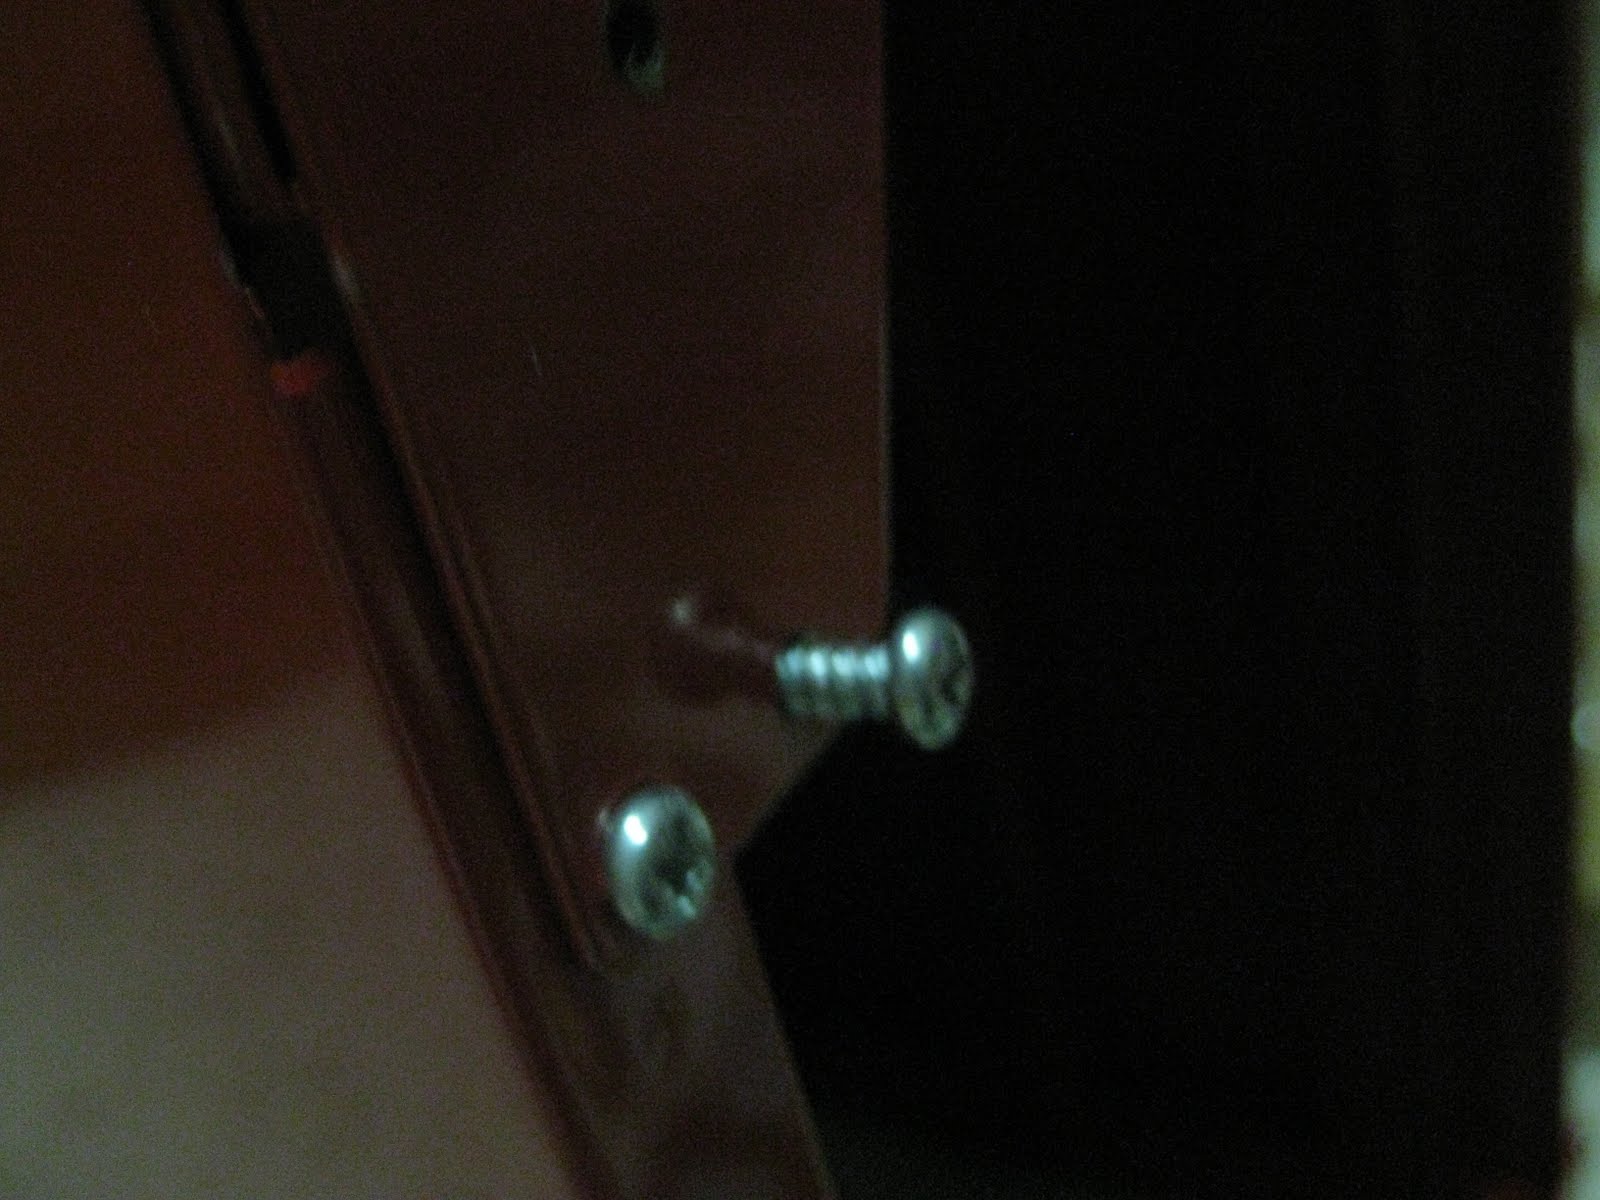
I only managed to fixed four screws on manually which also took my 110% strength!
It was super hard to screw it through!

It's time to bring out the big guns! I've never used it before but I remembered my dad brought it back sometime ago, so I had to dig it out for my convenience.

Finally the rollers are done! I was delighted! One of the main reason I wanted this particular drawer was because of it's mobility to be able to roll around the room.

Not giving up, continuing with front handle.

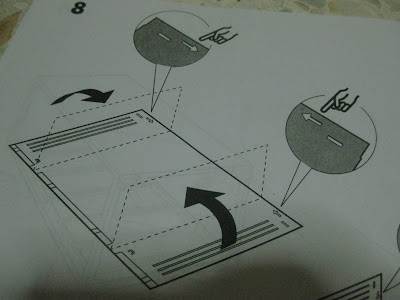
You see the arrow? The instructions was actually easy to follow.

It label it on the guide as well for easy reference.
After 3 hours and 30 minutes of chacos with dipping break,
I'm done!!

I love it!


Comments