Hair Dye DIY [Tutorial]
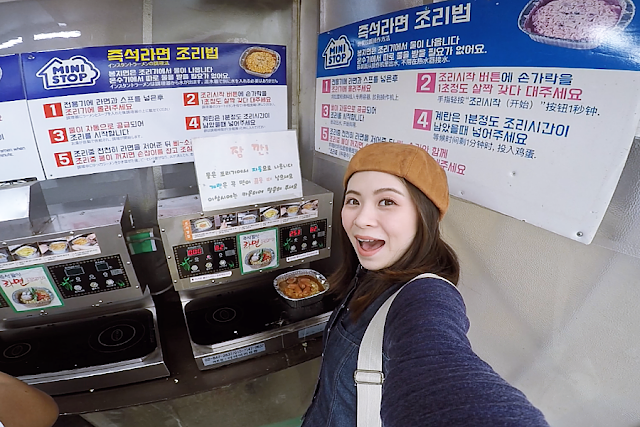
Anyeong! I have a current obsession with snapbacks. I don't know why but everytime I wear them like some hip hop, yo yo yo boys do, I think I look super chillax Korean. Oh, of course, adding the peace sign along with sepet eyes makes it even more authentic.
Since my hair has grown out quite long, I've been wanting to dye them lighter for the longest time. At times I do cut my own hair, mainly just my fringe, but I've never dyed my own hair before. To be exact, I have three boxes of DIY hair dyes in my closet and I never had the courage to do it myself until recently, I screwed all my work and take time off to just do this shit.
I had two other dyes in brilliant red and deep purple hues. Of course, my mentality was if I want to do it, lets go all out. So blonde it is. Technically, I knew my hair will just go a few shades lighter cause it's impossible to go blonde without bleaching my hair.
Inside Syoss Professional Performance Permanent Coloration Box
- Caring Color Cream
- Application Bottle with Developer Emulsion
- Color Shine Conditioner
- Plastic Gloves
- Guide Booklet
Syoss is quite a new brand in Malaysia but their haircare range is really something you should check out. They are reasonable in price and competitively good as compared to other counter brands.
Before you start anything, please read the instructions carefully.
Step 1: Squeeze tube of colour cream into the bottle.
Step 2: Wear gloves
Step 3: Shake, shake, shake like crazy to mix the two ingredients.
Step 4: Unscrew the cap to and start the application process.
I sectioned my hair into two and part them further into smaller groups and work the dye by massaging the cream into the hair. I work from my ends first and with the extras I work it upwards. To be honest, I had no idea what I was doing and I wasn't sure how to check if it's ready. However, one thing I do suggest is to wear and old t-shirt and use a cheap comb (mine was from a hotel) while dyeing your hair at home. Also, do this step by the window or door or anywhere with good air ventilation because the ammonia can be overwhelming like super.
I realised that with my hair length, I'm surprised to be able to cover till about two inches before reaching the roots. Once I finished up all the colour cream, I tie my hair up in a bun so that I can start cleaning up my work station.
After 30 minutes, I rinsed my hair with warm water till the water turns clear, at least that's what stated in the guide. The problem with blonde dyes is that, you can't really tell cause the cream colour stays milky and doesn't change colour as time passes. Lols. Whatever, I just rinsed it till I'm satisfied and start conditioning my hair with the packet colour shine conditioner provided. Please don't be stingy, thinking that you can save them for one more use. Come on, you hair just went through a crazy loathe of chemical to change itself for your beauty sake, it's appropriate to pamper them luxuriously.
Before (left) & After (right)
Pretty cool. I was utterly glad that it turned out even and not patchy, which I was totally prepared to drop by the salon the next day if it turn out horribly. Anyway, it was all good :) Will I do another hair colour DIY? Yes but not in a long, long time because this takes a lot of effort and time. It took me more than half a day to get it all done, not counting drying time cause I air-dried my hair. Also, by the time I was done, I was tired and wanted to hibernate so badly like a polar bear. It's pretty simple to DIY but just very time consuming.
*Product was given long time ago, I wasn't told to do this, I just wanted to for fun*
Twitter | Bloglovin | Instagram


Comments
The box type isn't too hard to use. You could try Liese if you're afraid of patches because that's shampoo type. Easy but a bit more expensive than others.
if you want, try to have a bleached white hair. i saw a chinese girl did that and it looked so nice!
by the way, the dye looks good on you :D